What they really wish to have is a very dark room, yet be able to look for their way to the bathroom without hitting or stumbling upon anything on the way.
So how do you create a dark room with such a character?
No.1
Make use of blackout linings with your curtains, that was too obvious a point to be mentioned? Why not make a DIY project out of that. You may do it yourself, if you like doing sewing. Else, hire the services of a skilled worker and get it done while making new curtains for you. In fact a skilled worker would be able to do just that on your existing curtains too.
No.2
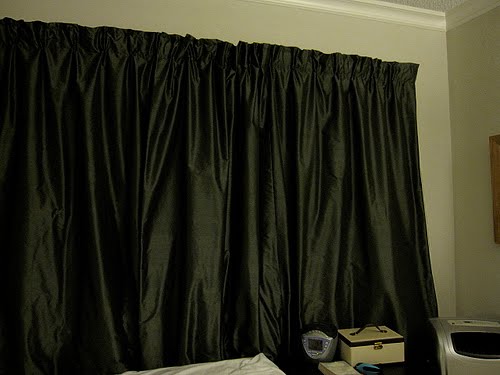
Have a valance or pelmet on top of your curtains. For hanging of curtains use a wooden top board. Now, what’s a top board, you may ask. It’s just a simple piece of wood, generally fifteen centimeters wide with a thickness of 1-8 cm and length equal to the length of your window. It is fixed on the wall above the window thru a simple L shaped shelf bracket. Keep it about 15-20 cm above your window. The valance sits on the narrow edge of the board with a Velcro tape whereas the curtain rail is fixed below the board.
There are two benefits to that: Curtains hang better, giving a more organized look and the other benefit is that the board blocks the light coming in from the top of the curtains.
No. 3
Once again coming back to the outside edges of your blackout curtain back on the wall. What does that mean; usually your curtains hang on a curtain rail, with the outside edges sitting against the wall on either side of your window. The problem is that light can still filter through the small gap. To eliminate that, fix a pelmet board as described above. Before you hang out your top treatment, sort out the outer edges of the curtain. You have to fix a metal screw eye into the underside of the top board. The metal screw eye should be so fixed that it remains as close to the wall as possible and at the same time be a few cm inside of each end of the board.
Then, fasten the last curtain hook on the outermost edge of your curtain to the metal screw eye. This small trick pushes and fixes the outer edges of your curtains back against the wall; as a consequence there is no scope for light to filter thru the edges of the curtain.
No. 4
Next, your curtain rails need slight modification so that they overlap in the middle. This calls for two curtain rods, each half the width of your window plus 15cm. So, if you have a top board is 200cm long then you need 2 rails at 115cm long. Now you begin to wonder why two rods of shorter lengths? Simply, because we want the curtains to overlap in the middle! Yes, you are right. It is to block that small beam of light that comes thru the point where two curtains meet. Here’s, how to achieve that. Fix one rail towards the back of your top board and the other a few cm's further forward. That way your hanging curtains will overlap each other when drawn together, thereby blocking all the light.
Hopefully, this article proves helpful in having your own blackout curtains. Well, as always, you need to spare time and have the inclination of doing such small projects.
Those blackout curtains are totally awesome for the summer season, especially if you don't like the bright sunlight blazing through your eyes.
ReplyDelete